Salesforce Password Sync
_________________________________________________________
Steps to create the required Salesforce API
Note: You need to have Java jdk 1.6 installed in your environment for the steps to work. Please download and install it before proceeding with the steps given below.
Log in to your Salesforce account. You must log in as an administrator or as a user who has the "Modify All Data" permission.
Click <Your Login Name> at the top right corner and then click Setup
In the page that opens, navigate to App Setup (left hand side) --> Develop and then click Download your organization-specific WSDL link.
Now, right-click Generate Partner WSDL link and save the wsdl file (partner.wsdl) in <ADSelfService Plus_install_directory\bin> directory.
-
Before you proceed with the next step, Stop ADSelfService Plus and then continue
-
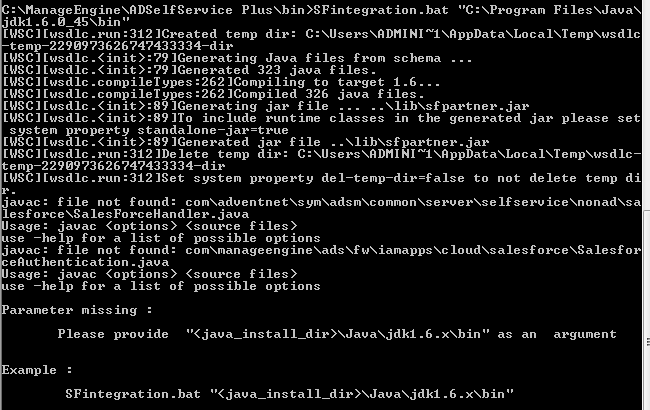
Now open the command prompt (with administrative privileges) and navigate to <ADSelfService Plus_install_directory\bin> folder, and execute the following command:
SFintegration.bat "<java_install_dir>\Java\jdk1.6.x\bin"
Once the command is successfully executed, Start ADSelfService Plus
Steps to configure Salesforce with ADSelfService Plus
Go to Configuration --> Self-Service --> Password Synchronizer
-
Click Salesforce link. You will be presented with Salesforce configuration page.
-
Enter the username and password of Salesforce account
-
Enter the Security Token of Salesforce account.

Steps To get the Security Token:
Log in to your Salesforce admin account. Navigate to <Your Login Name> (top right corner) and then click Setup.
In the page that opens, navigate to Personal Setup (left hand side) --> My Personal Information --> Reset Your Security Token, and click Reset Security Token. The new security token will be sent via email to the email address on your Salesforce user record. Select the Self-Service Policies by clicking the plus icon. Password Synchronization will be possible for only those users who fall under the selected self-service policies.
-
Select 'Automatically link with AD user accounts' option. If you enable this, AD user accounts will be automatically linked with user accounts in Salesforce.
-
Click Save
_________________________________________________________